Boost your website’s earnings with AdSanity, a user-friendly WordPress plugin designed to simplify ad management. Learn how to embed adsanity to create and display self-hosted ads effortlessly, gaining control over your site’s ad revenue.
Key Takeaways
- Easy setup for ad hosting and management
- Grow income through customizable ad placements
- Streamlined process to embed adsanity plugins
- Full control over ad performance and settings
- Compatibility with existing website structures
Why Choose AdSanity for Your Site?
Maximize your website’s potential with AdSanity integration, a tool designed to simplify ad management and boost earnings. Whether you’re a small publisher or a content creator, AdSanity offers features that turn ad space into a reliable revenue stream without technical hurdles.
Benefits for Site Owners
- User-friendly interface for easy ad setup and tracking
- Support for self-hosted ads, HTML5 ads, and external networks
- Real-time performance analytics and Google Analytics compatibility
- Ad Block Detection tool to encourage users to enable ads
Increased Revenue Opportunities
AdSanity lets you keep 100% of earnings with self-hosted ads. HTML5 ads enhance engagement, while external network integrations add diverse revenue streams. With a 3.5-hour average response time and 97% customer satisfaction, support is always just a message away.
Getting Started with AdSanity
Launching your AdSanity journey is straightforward. Begin by installing the AdSanity plugin directly from your WordPress dashboard. Navigate to Plugins > Add New, search for AdSanity, and click Install. Alternatively, upload the plugin files via FTP for manual installation. Once installed, activate the plugin and enter your license key during setup to unlock all features.
- After activation, visit the AdSanity dashboard to configure settings. Here, you’ll set up ad zones and link them to specific page locations.
- Use the intuitive interface to define ad sizes and placements. Save each zone to ensure it’s ready for ad integration.
Explore the dashboard’s tools to manage ads effectively. Test ad zones by previewing them on your site. For support, AdSanity’s documentation and community forums provide troubleshooting tips and best practices. This initial setup forms the foundation for maximizing ad performance and revenue.
Key Benefits of Embedding AdSanity
Streamlining your advertising strategy starts with the adsanity setup. This platform delivers tangible advantages that simplify every stage of managing and optimizing ads on your site.
Enhanced Ad Management
AdSanity’s core tools empower you to schedule ads precisely with start/end dates and track performance through visual metrics like views and clicks. Here’s how it works:
- Schedule ads with date-specific parameters
- Access real-time stats via per-ad performance dashboards
- Use add-ons like Google Analytics Tracking for deeper insights
User-Friendly Interface
Even non-technical users can master the adsanity setup in minutes. Creating an ad involves just five steps:
- Click “Create Ad” on the dashboard
- Input title and select ad size
- Upload images via the media library
- Set campaign timelines
- Preview and publish
Page builder users gain extra flexibility with native modules for Elementor, Divi, and Beaver Builder, ensuring seamless integration without coding.
With AdSanity’s intuitive design, managing ads becomes as simple as navigating your favorite app.
How to Set Up Your AdSanity Account
Getting started with AdSanity account setup is simple. Follow these steps to configure your account and begin optimizing ad performance:

- Create an account: Visit the AdSanity website and enter your email to register. Confirm your address via the welcome email.
- Activate your license: Enter your purchased license key during registration to unlock all features. This step ensures access to advanced tools.
- Build your first ad: Use the ad creation tool to input content, select placement zones, and set rotation schedules. Choose from banner, pop-under, or widget formats.
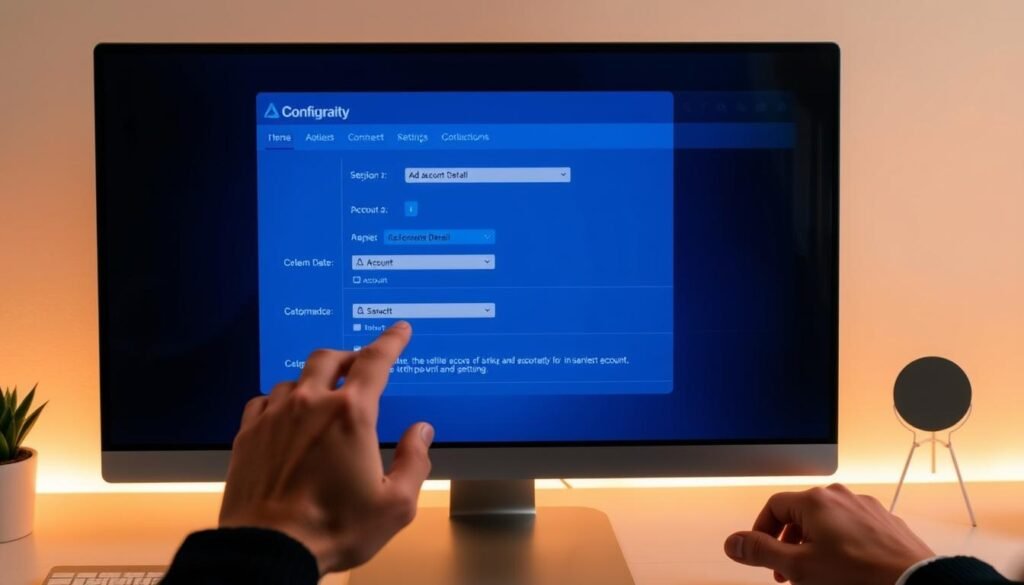
- Configure dashboard settings: Adjust ad frequency caps, set targeting options, and review real-time analytics. Save changes after each adjustment.
Each step includes visual cues to guide you. The dashboard’s configure ad settings panel lets you tweak details like color schemes and call-to-action buttons directly.
Pro Tip: Bookmark the dashboard’s “Saved Ads” section for quick access to templates.
Once complete, move to the next section on integrating codes into your site. The setup process takes under 10 minutes and requires no coding knowledge. All tools are built into the platform for seamless use.
Integrating AdSanity with Your Website
Adding AdSanity to your site is straightforward, even if you’re new to plugins. The WordPress ads plugin offers flexible options to embed ads without coding. Let’s walk through the best ways to get started.
Simple Embedding Techniques
- Use shortcodes from the AdSanity dashboard to place ads directly in posts or pages.
- Insert ads via WordPress blocks for a visual, drag-and-drop experience.
- Use non-widget embeds for custom placements in theme files if needed.
Step-by-Step Guidelines
- Log into your WordPress dashboard and navigate to AdSanity settings.
- Select the ad you want to display and copy its provided shortcode.
- Paste the shortcode into your page, post, or widget area where the ad should appear.
- Preview your site to ensure ads load correctly and adjust positions if needed.
Remember to test each placement after setup. The WordPress ads plugin interface guides you through each step, so adjustments are quick and intuitive. Focus on locations where visitors engage most, like below headers or in sidebar sections. With these methods, you’ll have ads running in minutes.
Customizing Your AdSanity Display
With AdSanity, customizing your self-hosted ads ensures ads blend seamlessly with your website’s design. Tailoring themes and layouts helps maintain a professional look while boosting user engagement. Let’s explore how to refine your ads without technical hurdles.
Theme and Layout Options
AdSanity offers flexible tools to match ads to your site’s style:
- CSS Styling: Use classes like
ad-125x125orcolumn-2to adjust colors, spacing, and positioning. - Display Hooks: Leverage filters like
adsanity_post_classto add custom markup or classes to ad units. - Theme Templates: Customize the
ad.phpfile in your WordPress theme to override default layouts for specific ad sizes or individual units.
- Choose Ad Sizes Wisely: Popular sizes like 300×250 (medium rectangle) or 728×90 (leaderboard) work best for most sites.
- Balance Ad Density: Keep ads under 30% of total page content to avoid overwhelming visitors.
- Ensure Responsiveness: Test ads on mobile devices to maintain visibility across all screen sizes.
Customization isn’t just about aesthetics—it’s about aligning self-hosted ads with user behavior. Use analytics tools to track which layouts drive higher engagement and revenue.
Optimizing AdSanity Performance for Better Earnings
Boost your AdSanity performance with these proven strategies. Start by tracking peak traffic hours to schedule ads when users are most active. Use AdSanity’s analytics dashboard to identify top-performing ad types and replicate their success.
- Test ad placements using A/B testing to find the best spots on your site.
- Adjust ad frequency to avoid overwhelming users while maintaining visibility.
- Leverage conversion tracking tools to link clicks directly to revenue.
Data shows that ad revenue grows when ads match user behavior. Monitor metrics like CTR and earnings per page to spot trends. For example, reduce non-performing ads in low-traffic zones and expand placements where engagement spikes.
Regularly update creatives and ad networks in your AdSanity settings. Small changes like color schemes or ad sizes can boost conversions. Pair AdSanity with tools like Google Analytics for deeper insights into user journeys.
Optimization isn’t a one-time task—it’s ongoing. Check reports weekly and tweak strategies based on real data. Small adjustments today can lead to bigger earnings tomorrow.
Troubleshooting Common AdSanity Issues
Even with proper setup, unexpected issues can arise. This guide helps you address problems quickly to keep ads running smoothly. Let’s dive into solutions for common hurdles.

Error Identification
Identify issues by checking these key signs:
- Ads not displaying or showing errors
- Slow load times affecting site performance
- Configuration mismatches causing revenue loss
Quick Fix Strategies
Follow these steps to resolve most problems:
- Verify ad code placement in your site’s HTML.
- Test network connectivity and server response times.
- Review AdSanity dashboard settings for misconfigurations.
Regular checks and updates ensure ads function without disruption. For persistent issues, reach out to AdSanity support for tailored guidance.
Monitoring and Analyzing Ad Performance
Tracking ad performance is key to boosting earnings. Use analytics tools like Google Analytics and MonsterInsights to measure views, clicks, and revenue. Ad management tips often highlight daily or weekly reviews to spot trends early.
Using Analytics Tools
Start by logging into your AdSanity dashboard. Look for metrics like click-through rate (CTR) and earnings per page view. Tools like Google Analytics add layers of data for deeper insights. Follow these steps:
- Check daily reports to spot traffic spikes or drops.
- Compare top-performing ads against underperforming ones.
- Adjust placements using real-time data to test changes instantly.
Interpreting Data Trends
| Metric | Goal | Action |
|---|---|---|
| CTR | Identify ad appeal | Update visuals or ad types |
| RPM | Track revenue per thousand views | Optimize ad networks |
| Conversion Rate | Measure user actions | Refine targeting settings |
Low CTR? Try rotating ad creatives. High bounce rates? Simplify page layouts. Data trends guide every ad management tips strategy.
Enhancing User Experience with Ad Placement
Strategic ad placement balances revenue goals with visitor comfort. When you embed ads on website pages, their location can boost clicks without annoying users. Here’s how to get it right.
- Place ads near popular content sections where users scroll naturally.
- Avoid cluttering navigation menus or critical action buttons.
- Test ad sizes—smaller units often work better on mobile.
Top-performing sites use heatmaps to track where users spend time. Placing ads in these “hot zones” can improve engagement. For example, header ads above the fold often see higher visibility, while sidebar ads work well on long-form blogs.
“Ads placed below the first paragraph can increase CTR by 25% without harming bounce rates.” — Digital Advertising Trends Report 2023
Pair ad locations with content flow. For instance, video ads near media galleries or product ads near checkout pages. Prioritize loading speed—slow ads frustrate users. Use A/B testing tools to refine positions over time.
how to embed adsanity on my website
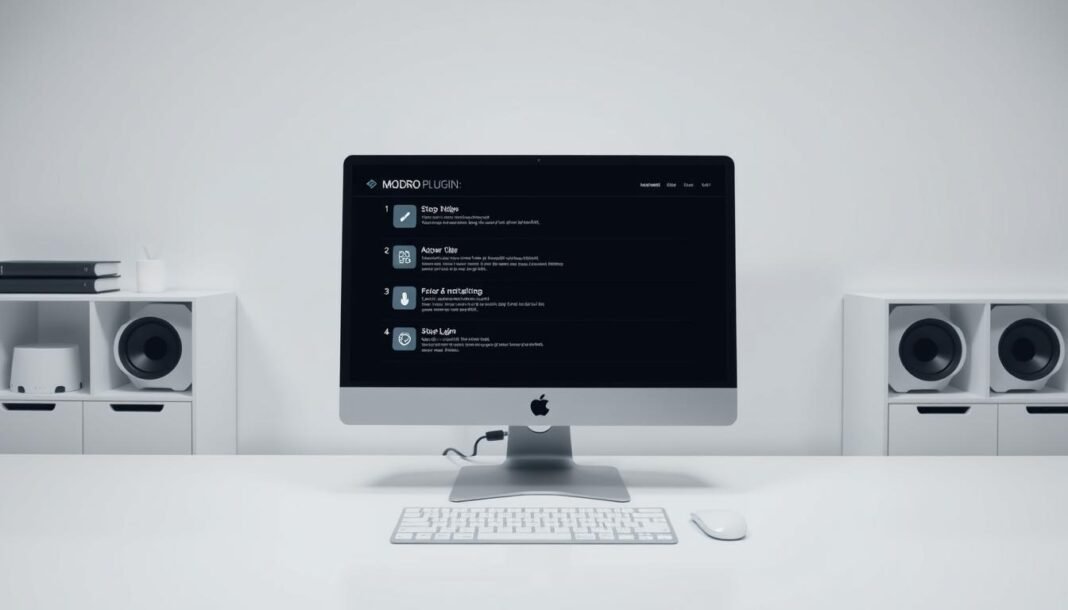
Maximizing site monetization starts with a clear setup. Follow these steps to seamlessly integrate AdSanity’s tools into your site’s layout:
Detailed Embedding Process
- Access your AdSanity account dashboard and choose the ad format (banner, popunder, or in-feed) that matches your content type.
- Upload ad creatives via the media library. Optimize images and text for fast loading to avoid slowing down your site.
- Assign ads to specific pages using targeting options. For instance, place product ads on shopping sections and general banners on blog pages.
- Copy the embed code from the AdSanity interface. Insert it into your site’s HTML where ads should display, like sidebars or article footers.
Best Practices for Integration
Follow these tips to boost effectiveness:
- Test ad placements using AdSanity’s A/B testing feature to identify top-performing spots.
- Rotate creatives weekly to maintain user interest and prevent ad blindness.
- Set up auto-refresh intervals to ensure fresh ads appear without overwhelming visitors.
Regularly review performance metrics in AdSanity’s dashboard to adjust strategies and maximize site monetization returns.
Conclusion
AdSanity simplifies embedding ads on your site while maximizing revenue. By following setup steps and customization tips, you’ve already laid the groundwork for better ad management. Tools like analytics tracking and layout options ensure ads blend seamlessly with your content, enhancing user experience without overwhelming visitors.
Remember, optimizing placements and monitoring performance keeps earnings growing. AdSanity’s user-friendly interface makes adjustments quick and straightforward. Whether you’re a small blog owner or a large site, integrating AdSanity adds value without technical hurdles.
Ready to see results? Start embedding today to unlock new revenue streams. With AdSanity, managing ads becomes effortless, letting you focus on content while boosting your site’s income potential. Visit AdSanity’s official site to get started now.


